Managing Groups
Sentinel Admin Console
Administrator
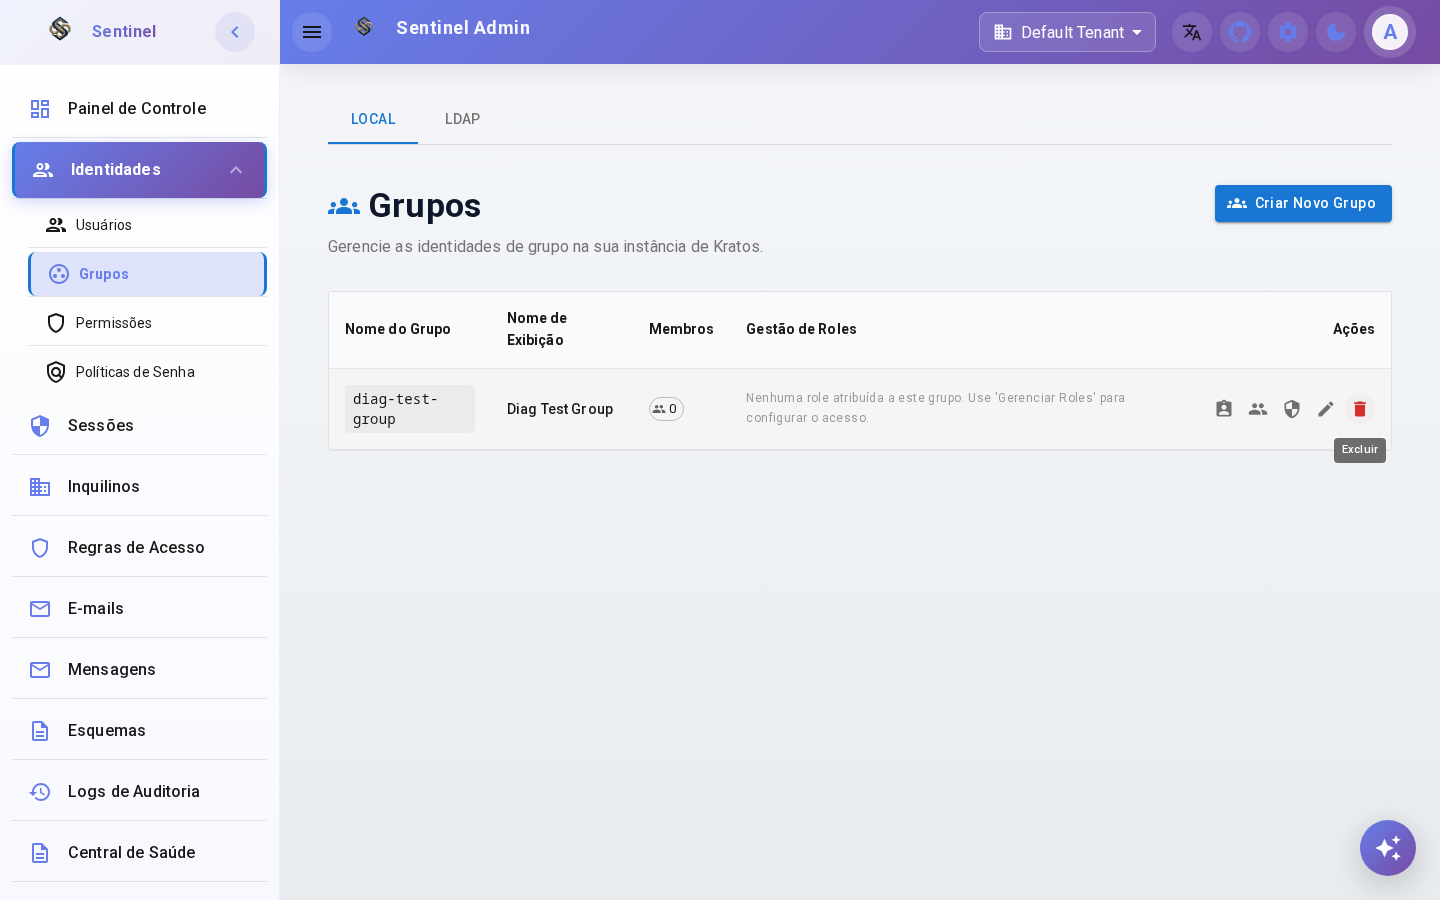
"Side Menu > Identities > Groups"
Group List
Step 1: Access the Groups section from the side menu under Identities.
View and manage all groups in your organization. Groups allow you to organize users and assign roles collectively.
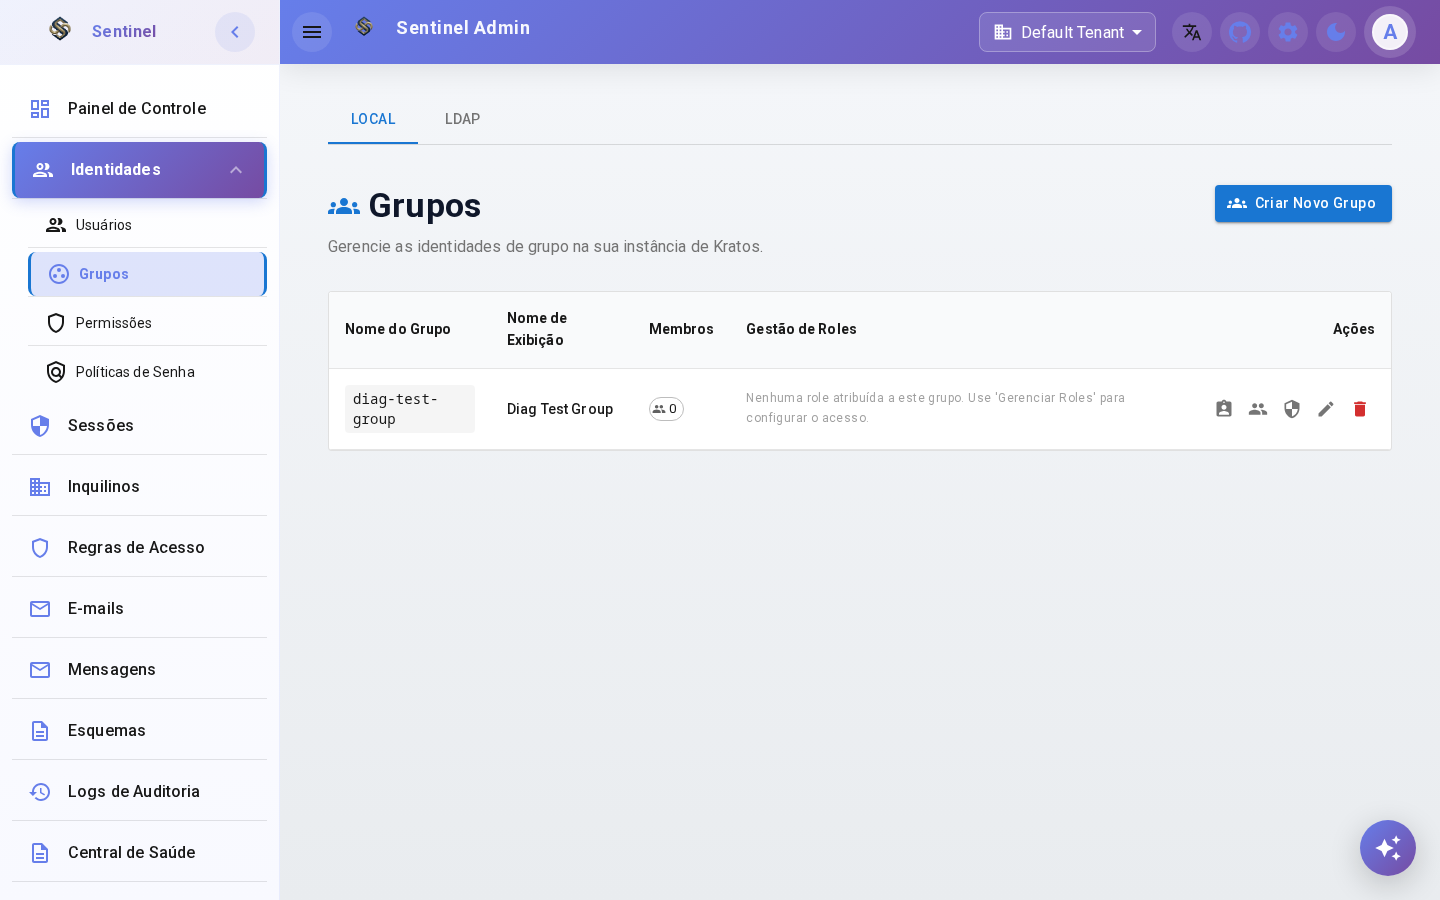
Create Group
Step 2: Click the "Create New Group" button.
Open the group creation dialog to define the name, display name and description of the new group.
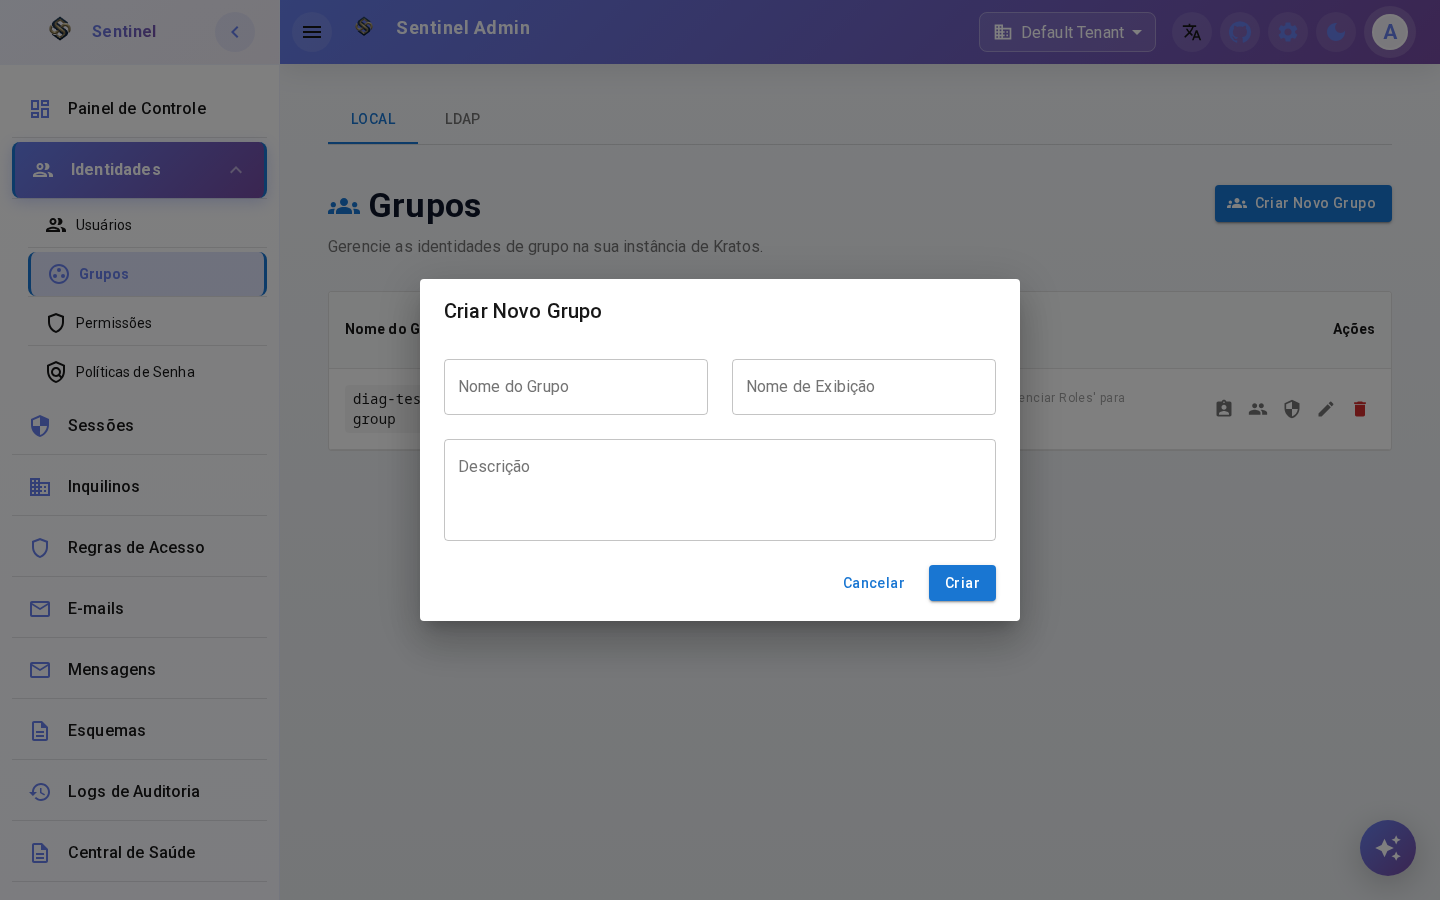
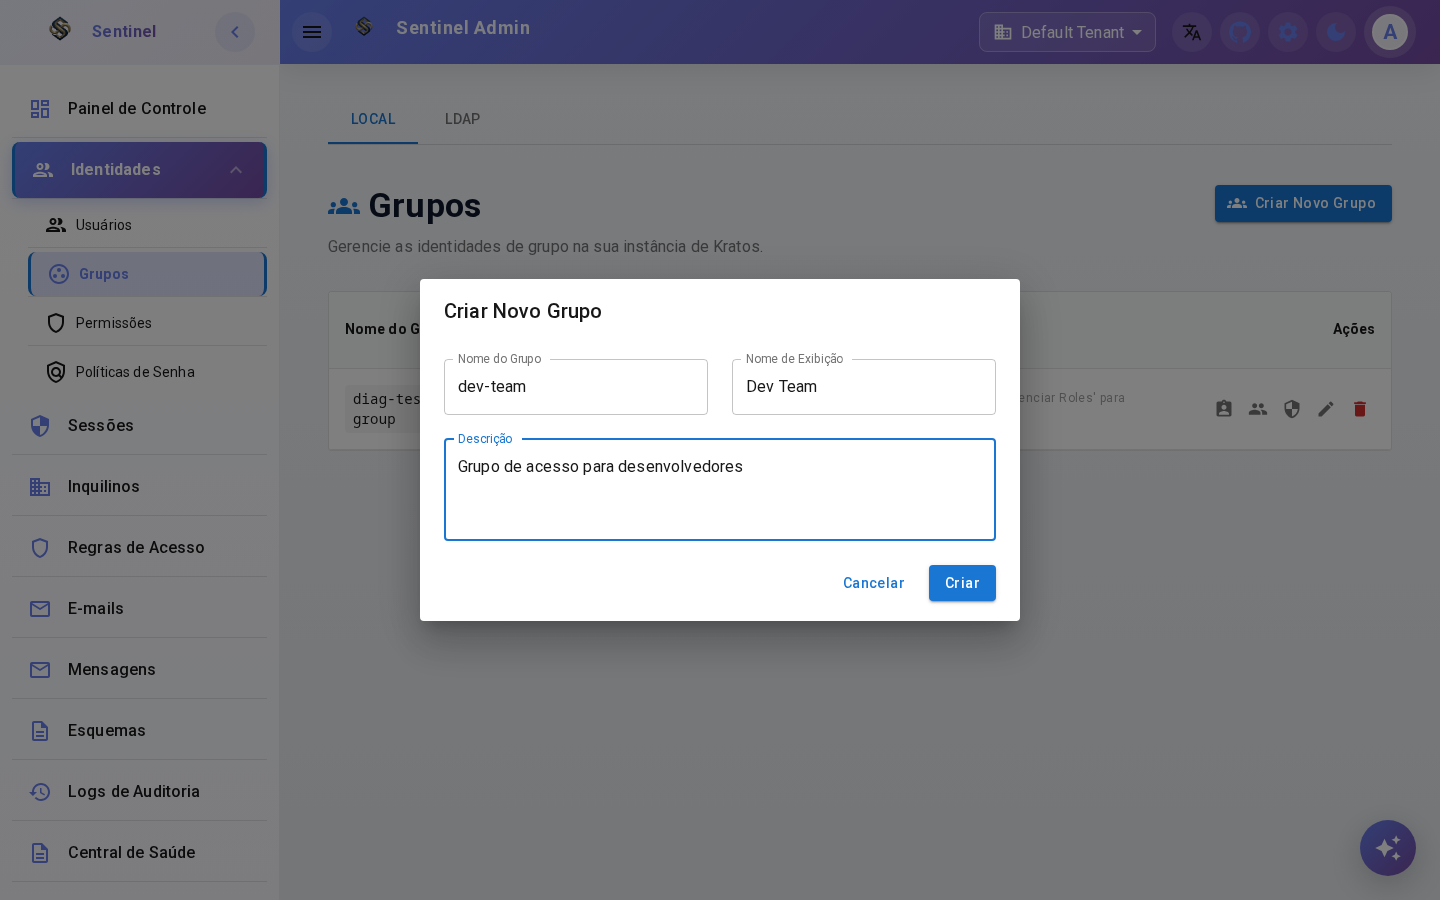
Fill Group Details
Step 3: Fill in the group information and confirm.
Enter the group name (identifier), display name (visible to users) and an optional description.
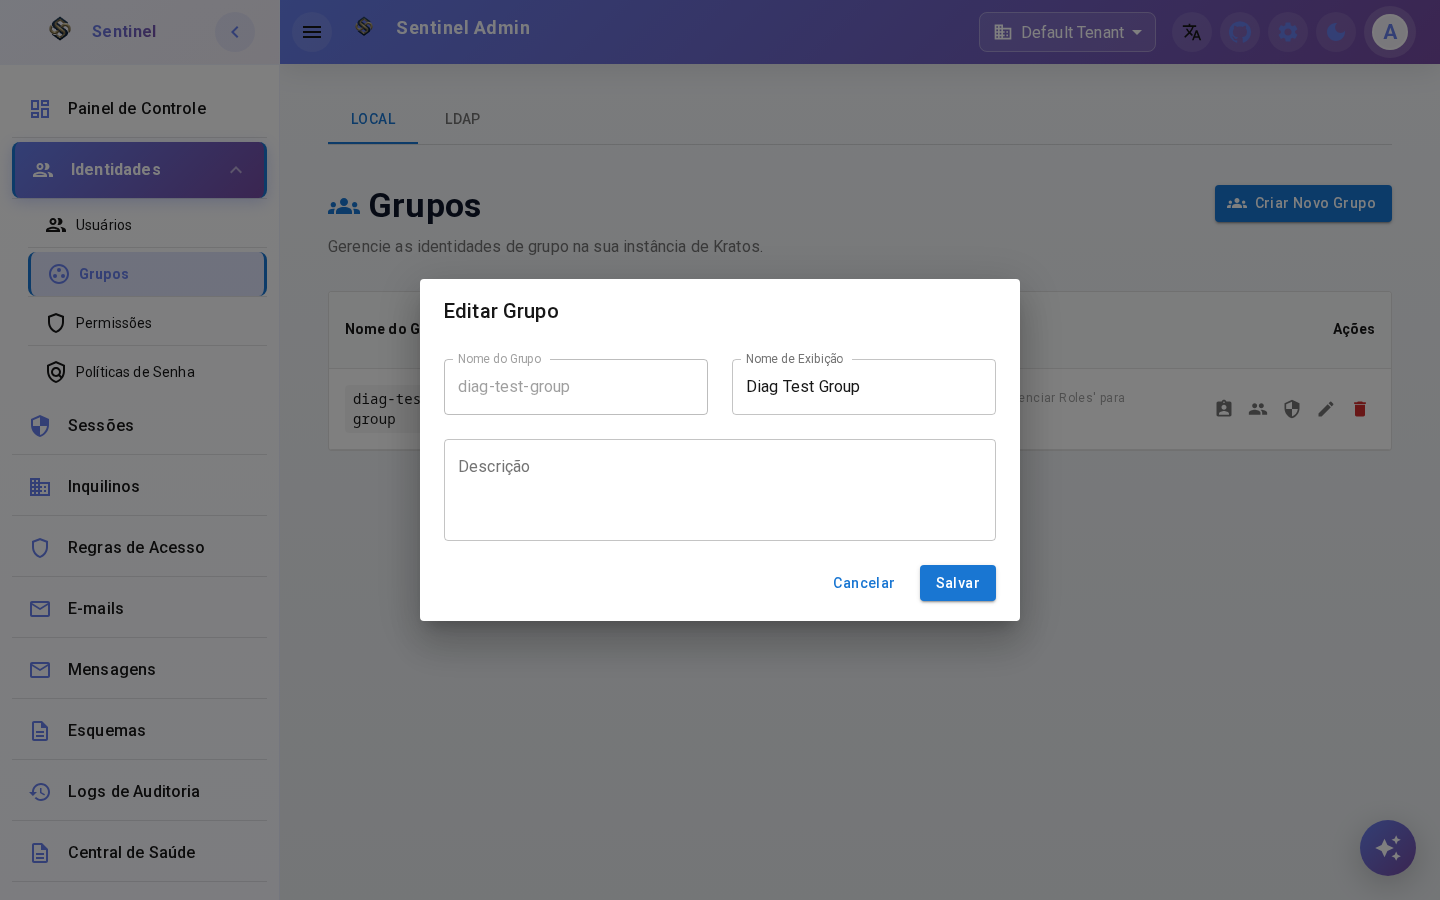
Edit Group
Step 4: Click the edit icon on the group row.
Update the group's display name or description. The group name cannot be changed after creation.
Delete Group
Step 5: Click the delete icon and confirm deletion.
Permanently remove a group. All role assignments linked to this group will also be removed.